Microsoft Windows Installation Instructions
Brief Instructions
Steps to Install Excel to Graphviz on Microsoft Windows
- Choose and run either the 32-bit or 64-bit Graphviz EXE Installer.
- Ensure the Graphviz
bindirectory is on thePATH
Open Command Prompt using the
Run as Administratoroption.- Register the Plugins: Run the command
dot -cto register Graphviz plugins. - Confirm the Installation: Run the command
dot -Vto verify the Graphviz version.
- Register the Plugins: Run the command
Download the Relationship Visualizer assets
- Obtain
RelationshipVisualizer.zipfrom SourceForge. - Optional: Validate SHA1 and/or MD5 checksums available here against the file downloaded.
- Obtain
Extract the files from the Zip file
- Extract all files to a local directory.
- Right-click (or
Alt+Enter) onRelationship Visualizer.xlsmand selectProperties. - Check
Unblockat the bottom of the Properties dialog, then click OK.
- Right-click (or
- Enable Macros in Microsoft Excel's
Trust Centeroptions. - Open the
Relationship Visualizer.xlsmworkbook, and grant permissions if prompted. - Save the file as a workbook template
- Enable Macros in Microsoft Excel's
Detailed Instructions
Download and Install Graphviz
Step 1. Download Graphviz Media
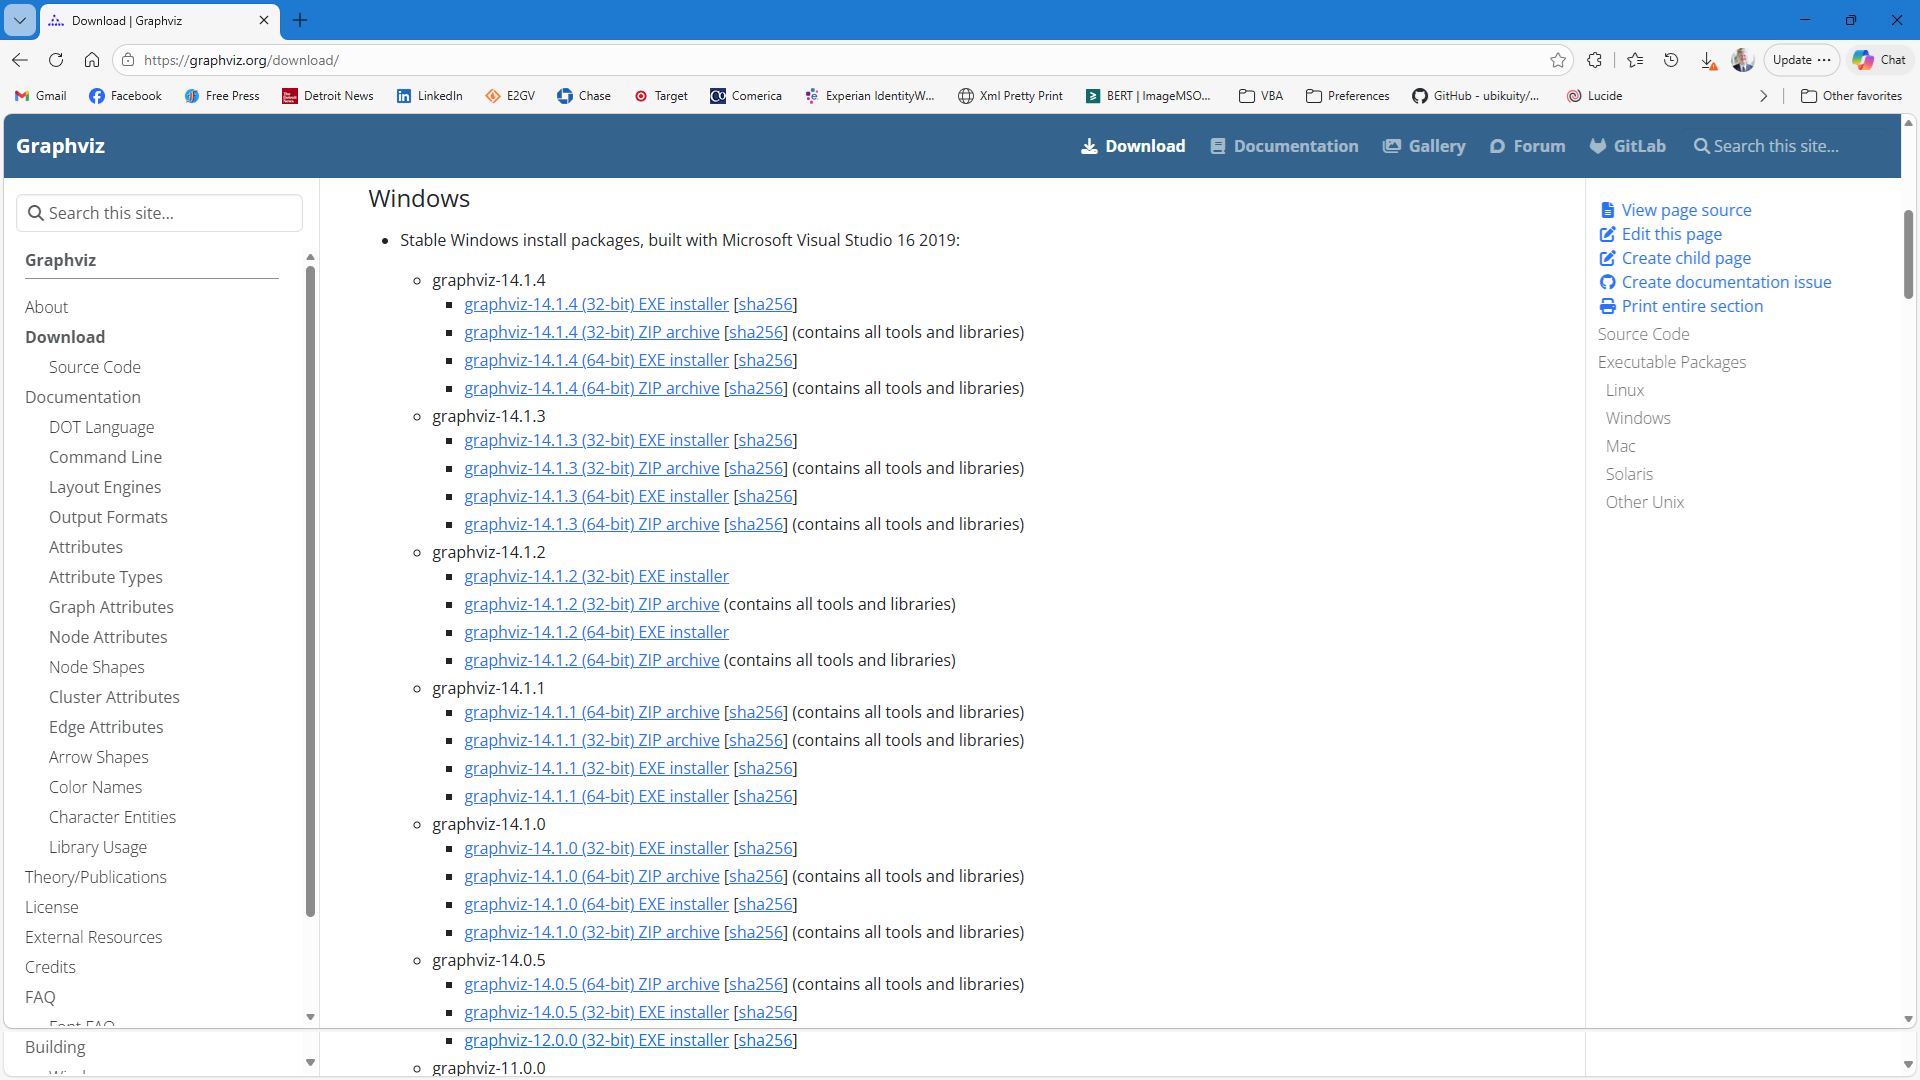
Download the installation media from the Windows section of the Graphviz download page at
https://graphviz.org/download/ which appears as:
 |
|---|
You will be presented with two links: Win32 for the 32-bit installer and x64 for the 64-bit installer. Choose the link that corresponds with the Windows architecture of your machine.
Download the installer file. At the time of this writing (25-March-2026) the choices are:
Download blocked?
If you are using Microsoft Edge, ocassionally the download will be blocked. This is usually due to a new release of Graphviz being published and enough downloads have not occurred to tell Microsoft the download is safe.
Follow the steps on this page to learn how to override the block and download the file.
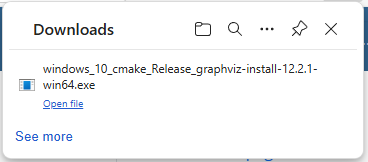
Step 2 - Launch the installer file.
Click on Open file to run the installer.
 |
|---|
A User Access Control warning will now take over the screen and ask
| User Access Control |
|---|
| Do you want to allow this app from an unknown publisher to make changes to your device? windows_10_cmake_Release_graphviz-install-12.2.1-win64.exe Publisher unknown File origin: Hard drive on this computer Show more details [ Yes ] [ No ] |
Press the Yes button, and the Graphviz installer will begin to run.
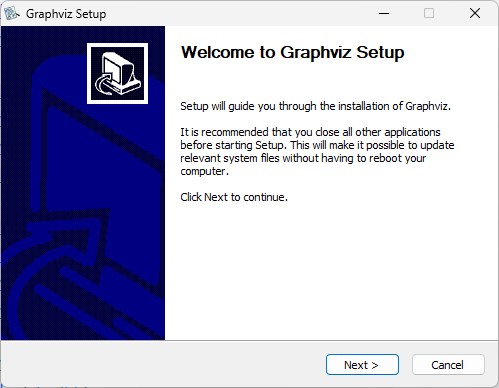
Step 3 - Select Next >
Select Next > on the "Welcome to Graphviz Setup" splash page.
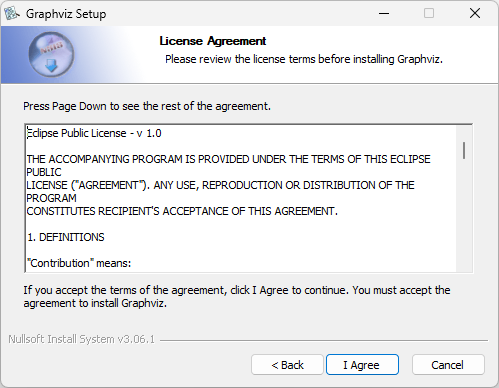
Step 4 - Accept the License Agreement
Accept the License Agreement by pressing the I Agree button.
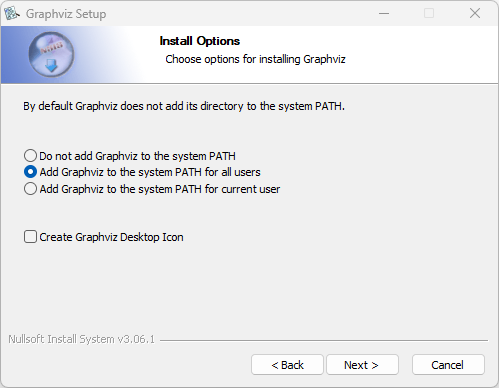
Step 5 - Modify PATH
The Graphviz bin directory needs to be on your system PATH.
Select the radio button Add Graphviz to the system PATH for all users, then click the Next > button.
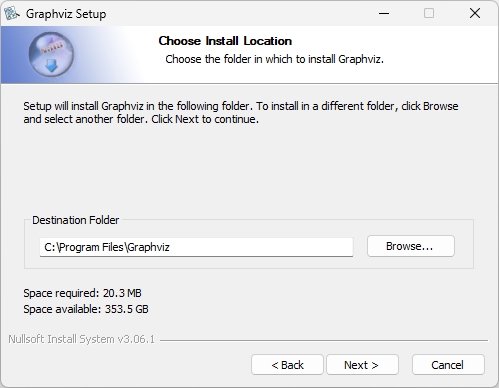
Step 6 - Specify Installation Folder
Specify the folder where Graphviz should be installed. Select the Everyone radio button, and then select the Next > button.
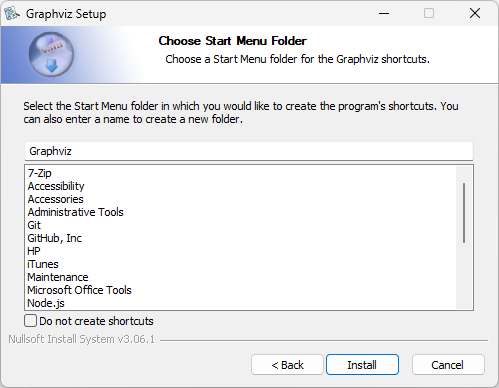
Step 7 - Press the Install button
Choose the Start Menu Folder and press the Install button.
Step 8 - Monitor Progress
The installer will copy the files and make Windows configuration changes. A status bar will indicate how the installation is progressing.
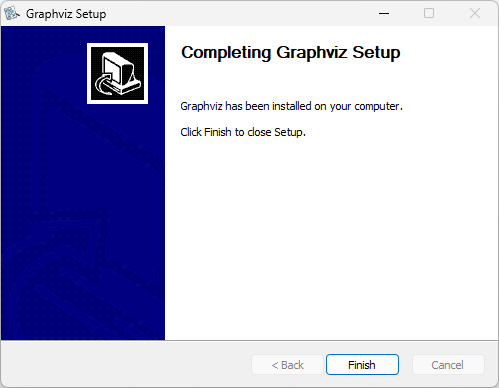
Step 9 - Click Finish
Once the Completing Graphviz Setup screen appears press the Finish button. The software is installed.
Step 10 - Restart Microsoft Windows (Optional)
Technically, restarting Microsoft Windows shouldn't be necessary. However, if you've already been running Excel, it might be holding an outdated copy of your environment variables. Restarting Microsoft Windows ensures that Excel references the current PATH environment variable.
Open Command Prompt
At this point, you have completed the installation steps for the Graphviz software. Now perform a Graphviz Command Line configuration and test.
Do not skip these steps!
The Relationship Visualizer spreadsheet utilizes command-line programs to generate graph visualizations. You must manually execute a command-line command to configure the Graphviz plugins before using Graphviz properly.
Testing the command line programs prior to using the spreadsheet can help ensure that everything is in place correctly so that the spreadsheet can perform properly.
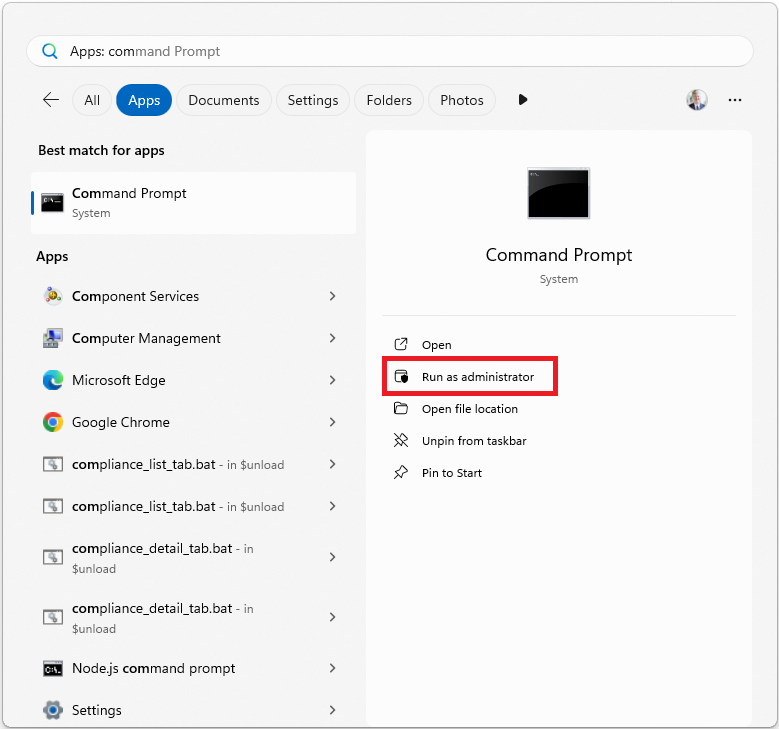
Step 1 - Open a Command Prompt
Open a Command Prompt window using the Run as Administrator option.
Click on the Windows Start Menu icon and begin to type Command Prompt. When the Command Prompt App appears choose the Run as administrator option.
Step 2 - Run as Administrator
You will get asked for permission to run a command prompt as Administrator.
Press the Yes button.
| User Access Control |
|---|
| Do you want to allow this app from an unknown publisher to make changes to your device? Windows Command Processor Verified Publisher: Microsoft Windows [ Yes ] [ No ] |
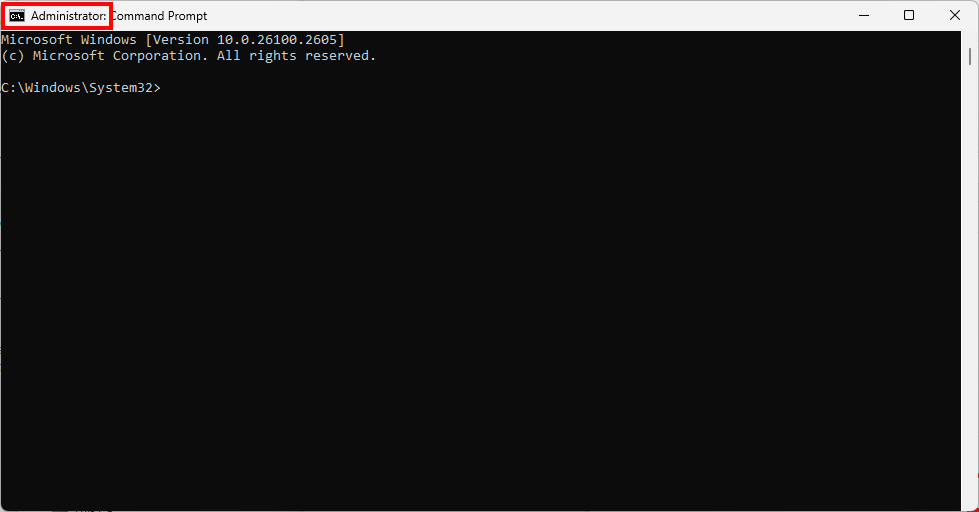
Step 3 - Confirm Administrator rights
A command prompt window appears. Confirm that the word Administrator appears in the Window title.
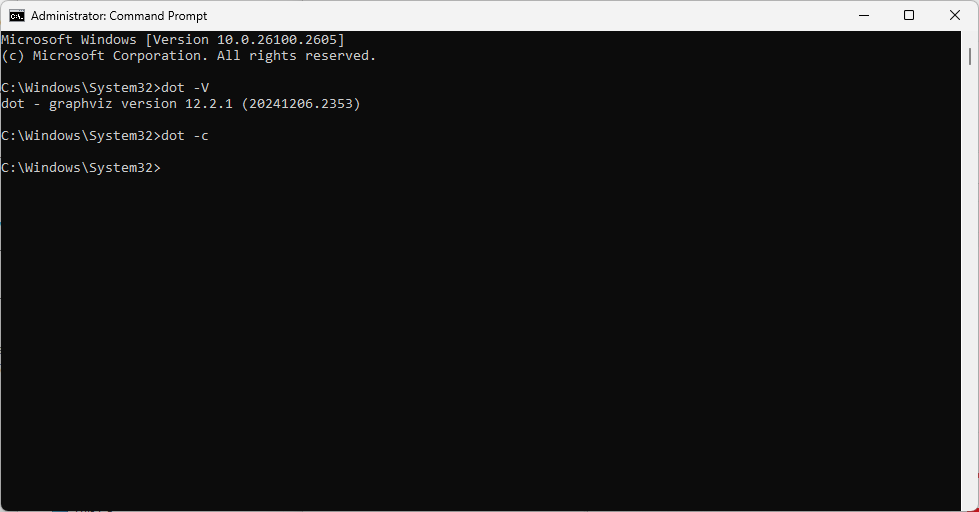
Step 4 - Display Graphviz Version
Test that Graphviz is configured properly on the PATH by entering the command:
dot -V
noting that the -V switch (for version) should be in uppercase, not lowercase. The dot program should respond with the message:
dot - graphviz version 12.2.1 (20241206.2353)
in similar fashion to the screen print below:

If you receive the message:
'dot' is not recognized as an internal or external command, operable program or batch file.
It means one of the following things:
- You have specified the path to the Graphviz executables incorrectly and you should repeat the steps above. Things to check are:
- Did you remember to add the
binsubdirectory to the Graphviz directory path? - Is the directory placed at the end of the
PATHsuch that the length of thePATHexceeds the Windows length limit? If so, move the Graphviz bin directory closer to the beginning of the list.
- Did you remember to add the
- You opened the
Command Promptwindow prior to updating thePATHstatement. This command window is still recognizing the old path. Close theCommand Promptwindow, open a new one, and repeat thedot -Vcommand.
Step 5 - Configure Graphviz Plugins
WARNING
Do not skip this important step!
Configure the plugins by entering the command
dot -c
No messages are written when the command executes; the screen will look as follows:
Step 6 - View the Plugins List
To see the list of configured plugins type the command
dot -v
where the -v is lowercase. The screen will appear as follows:
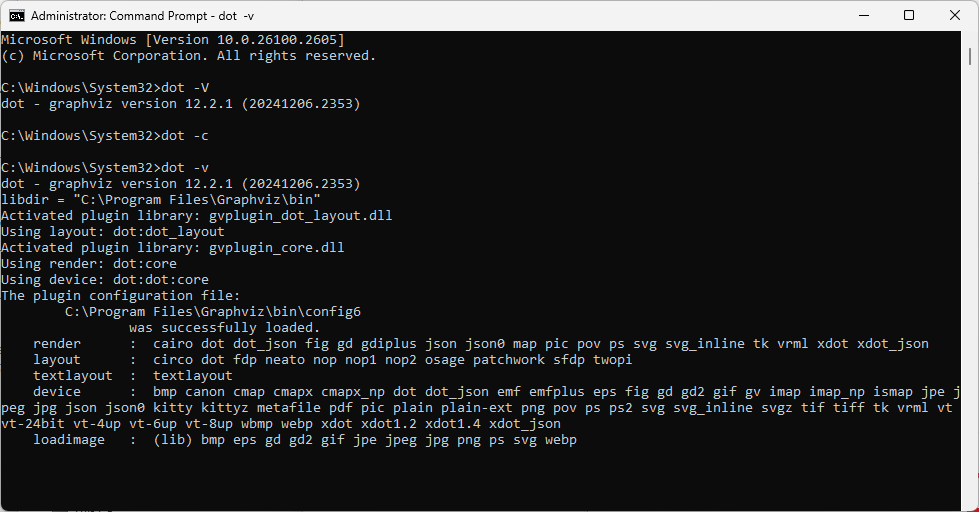
At this point Graphviz is waiting for more input. Pressing the Ctrl + C keys will break you from the dot program.
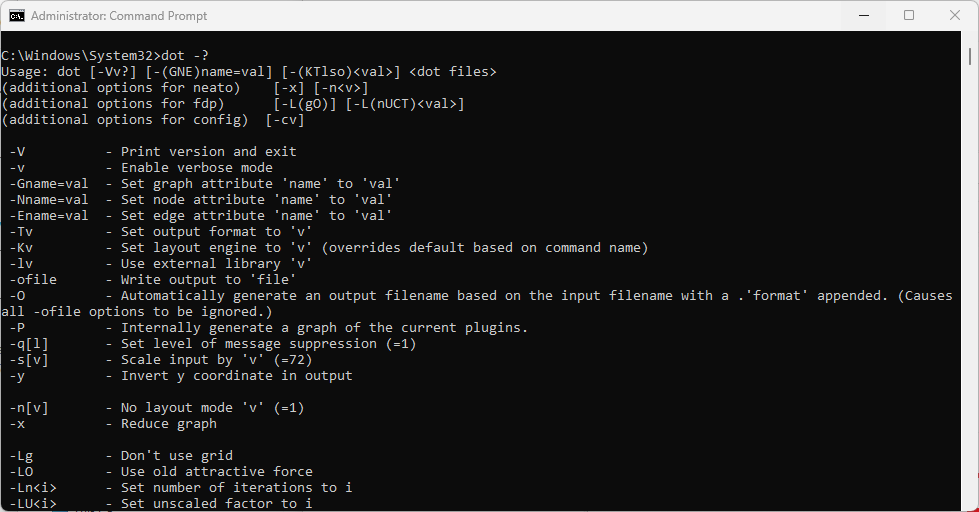
Step 7 - View Command Line Options
To see the list of command line options you can enter the command
dot -? or dot --help
The screen will appear as follows:
Congratulations! Graphviz is installed properly.
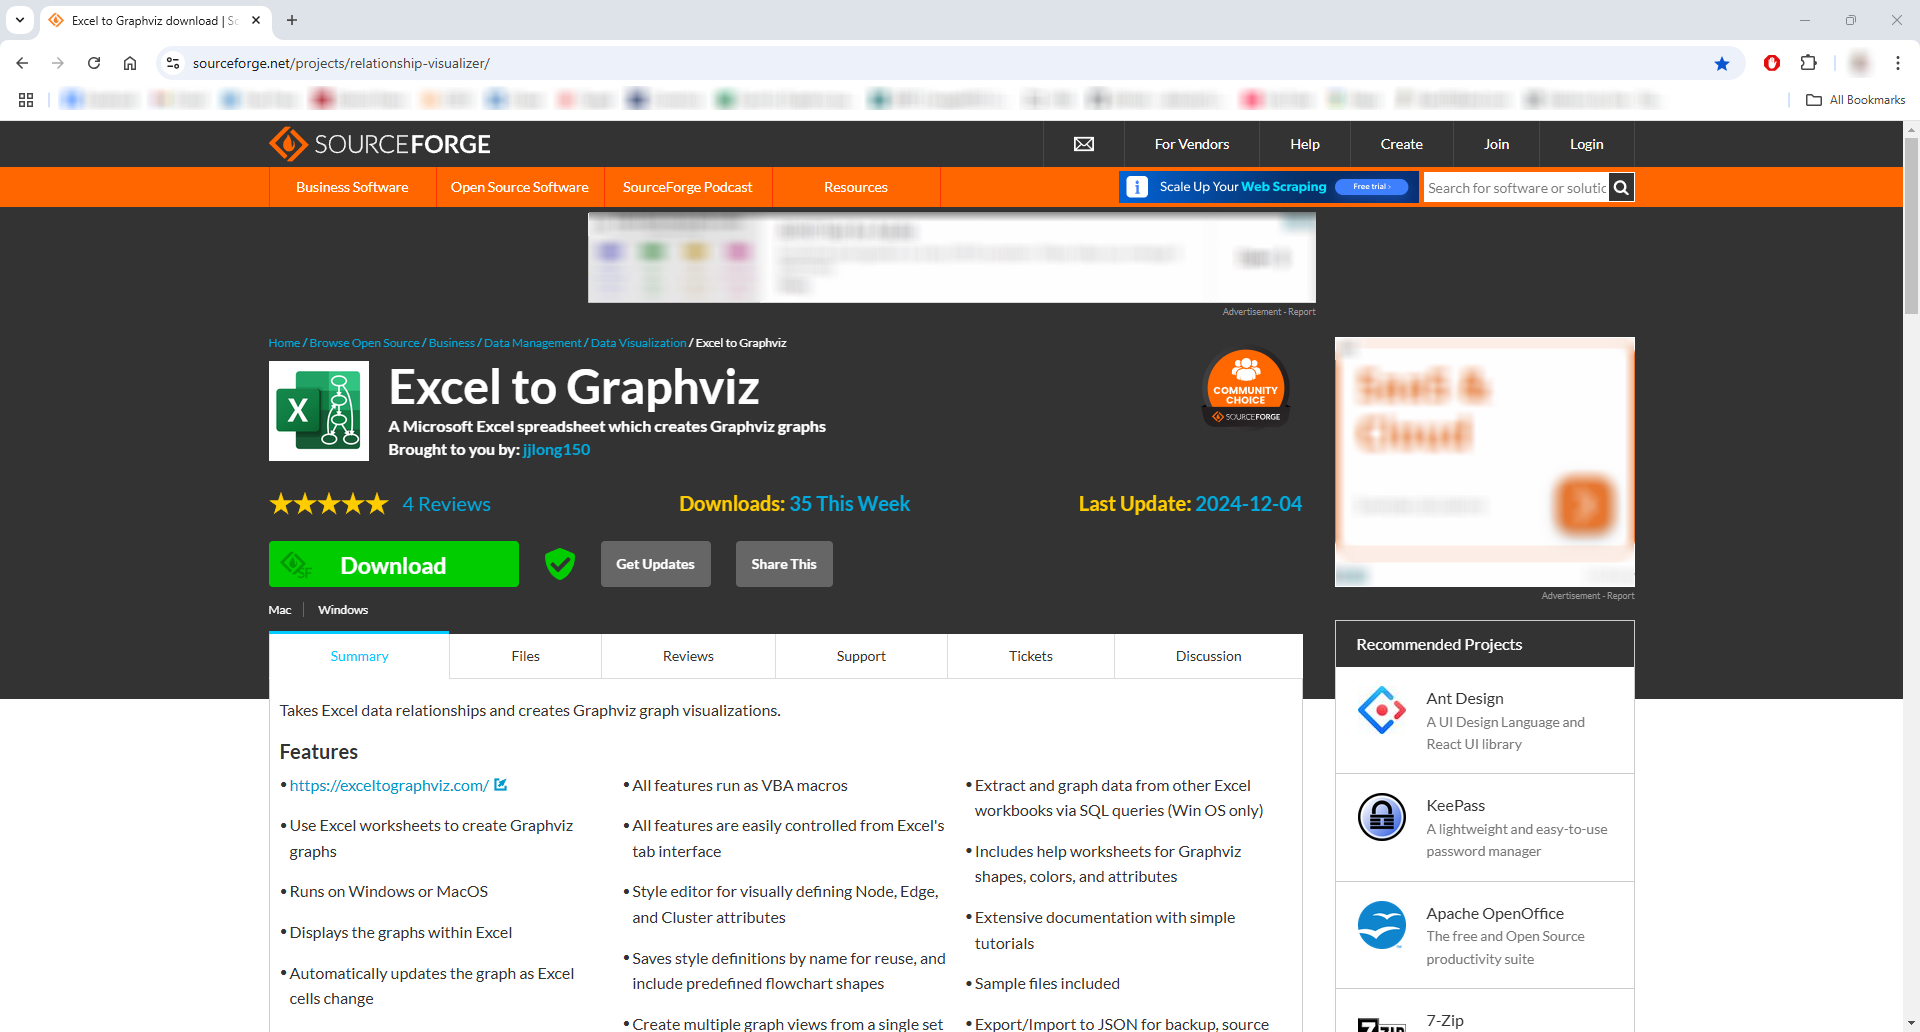
Download the Relationship Visualizer Assets
The Relationship Visualizer is distributed as a Zip file which is hosted at SourceForge, as SourceForge provides virus scanning of assets, and provides checksums to help confirm that files have not been tampered with during download.
Obtain RelationshipVisualizer.zip from SourceForge by clicking the large green Download button.
 |
|---|
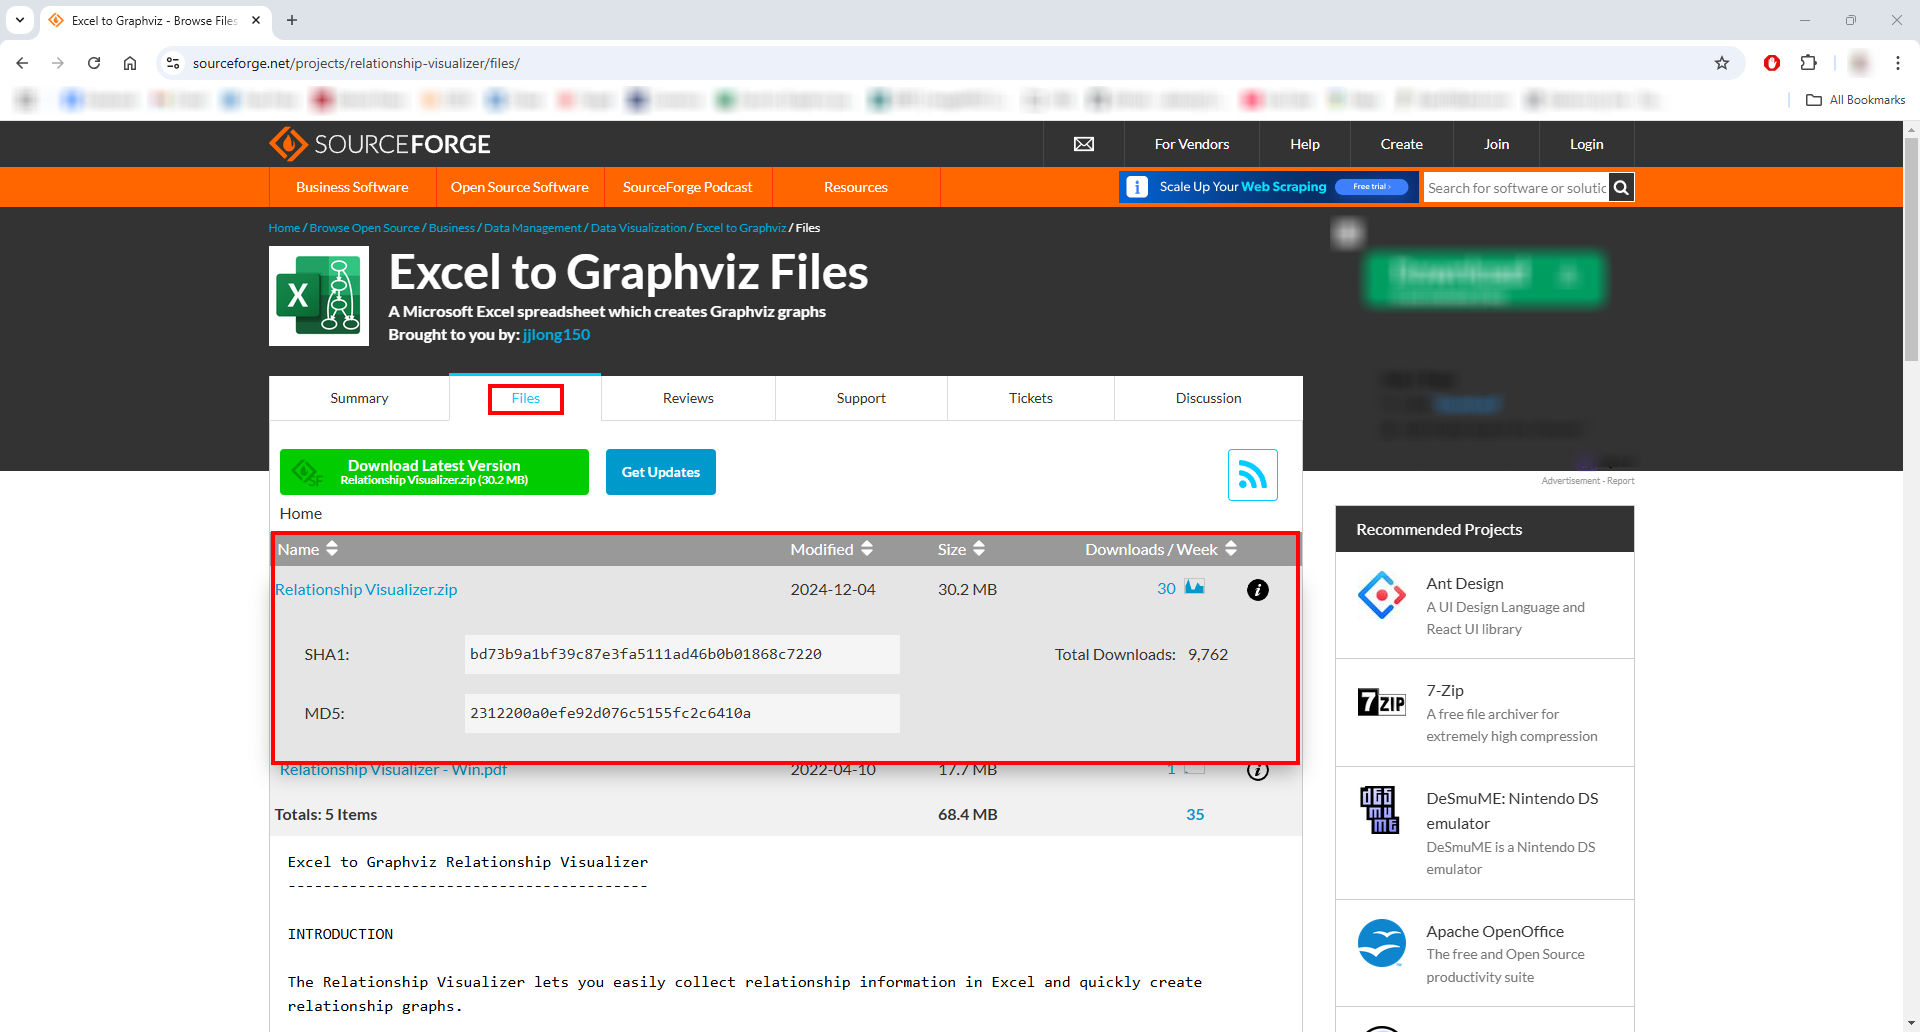
Optional, but recommended: Validate SHA1 and/or MD5 checksums available here against the file downloaded.
 |
|---|
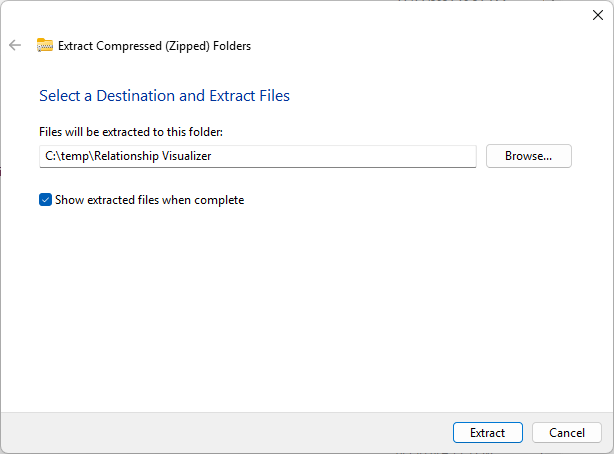
Extract Files From Zip File
Extract all files to a local directory.
Unblock the Spreadsheet File
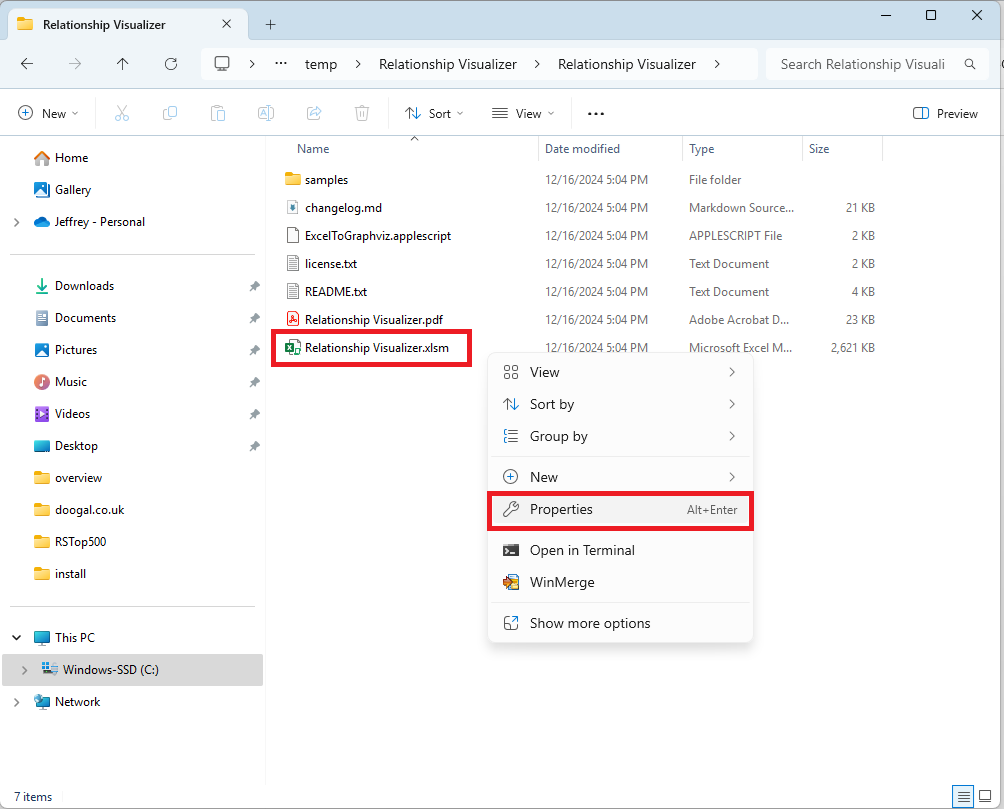
In the directory where you extracted the files, right mouse click (or Alt+Enter) on Relationship Visualizer.xlsm and select Properties.
 |
|---|
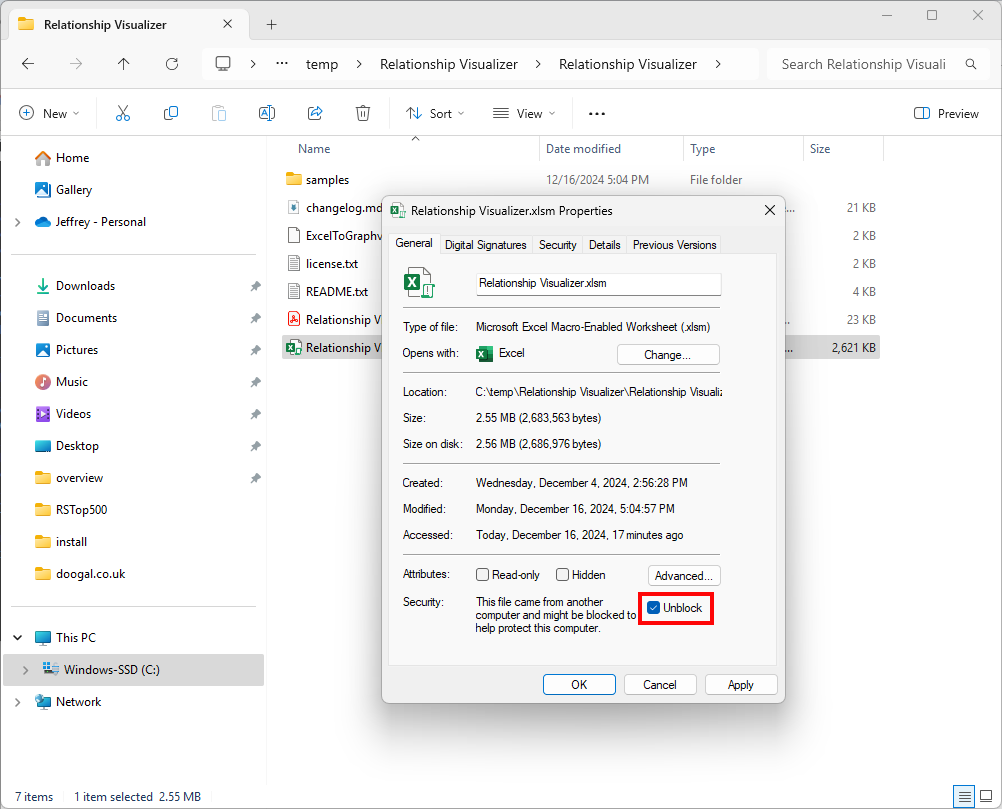
Check Unblock at the bottom of the Properties dialog, click Apply, then click OK.
 |
|---|
Open Microsoft Excel
Step 1 - Enable Macros
The Relationship Visualizer is a VBA-enabled spreadsheet. If you do not trust VBA, or this download this tool is not for you. The Relationship Visualizer requires that Excel is configured to allow macros. You configure Microsoft Excel as follows:
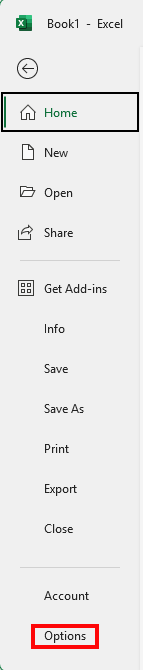
From the File menu, select Options in the lower left corner.
 |
|---|
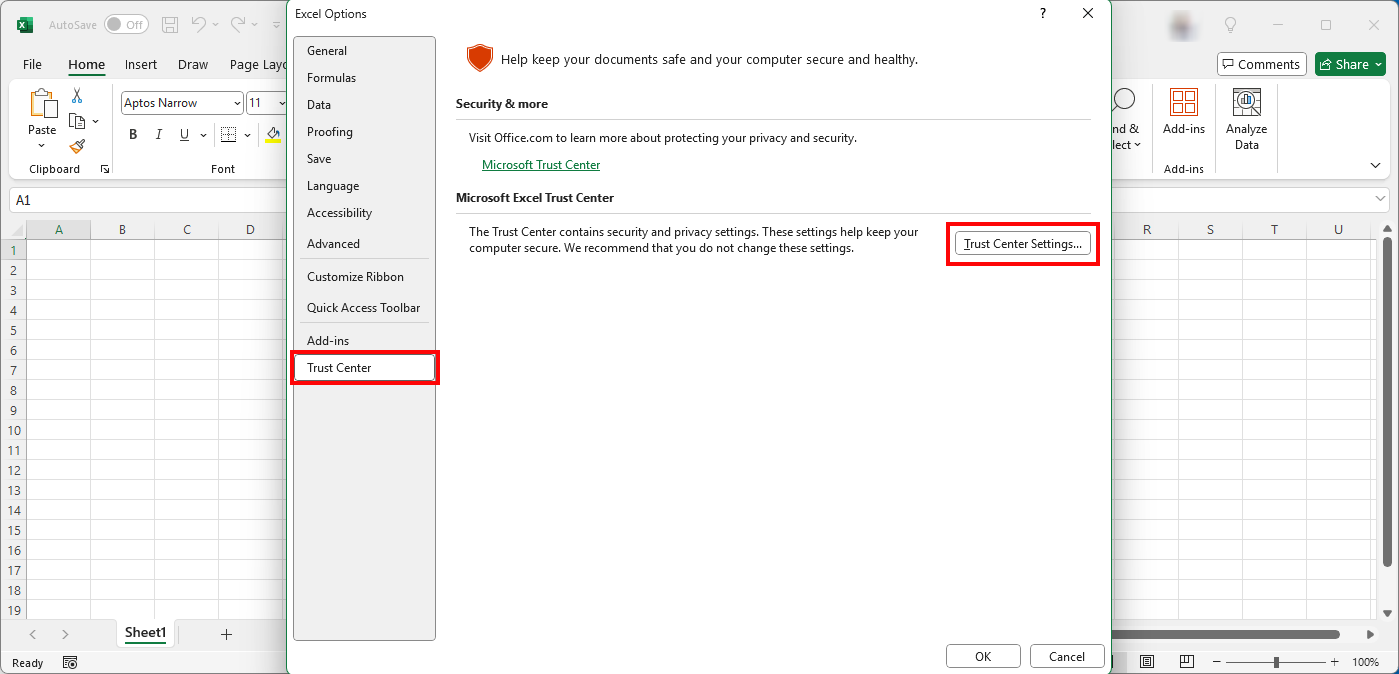
The Excel Options dialog will be displayed. The left column has categories of options. Choose Trust Center, then press the Trust Center Settings... button.
 |
|---|
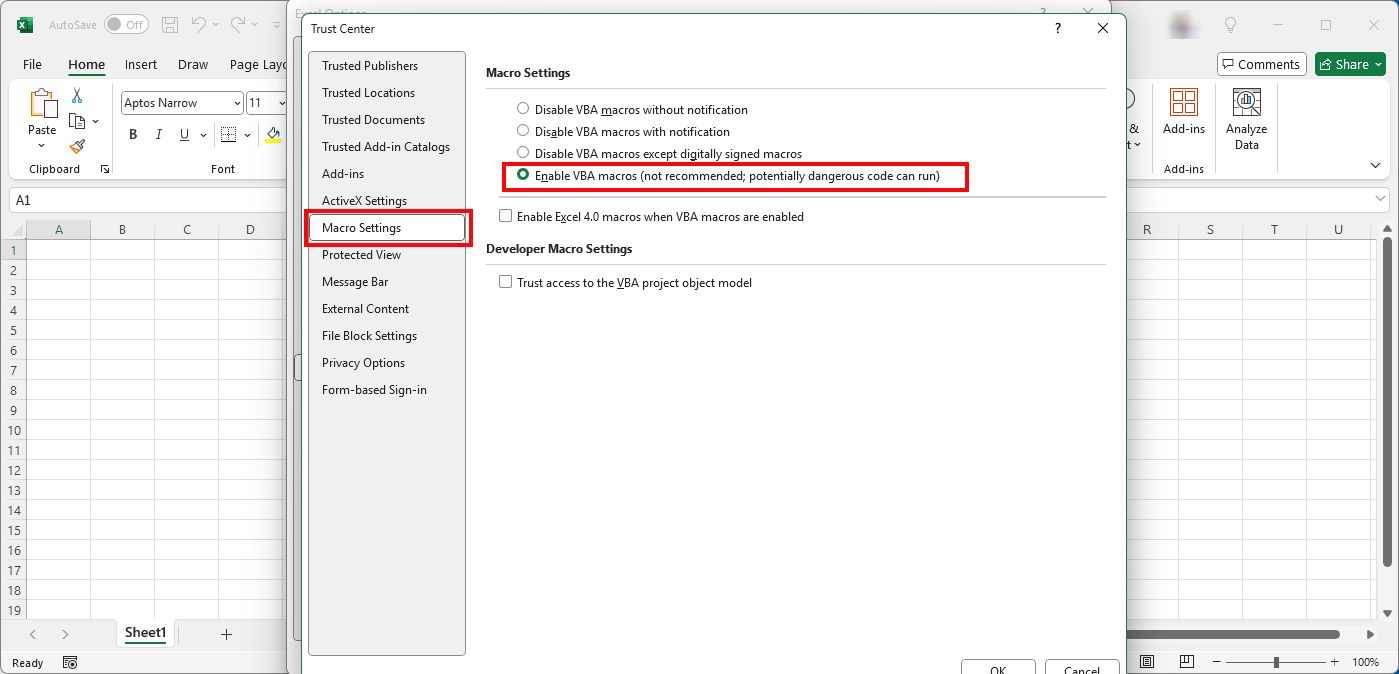
The left column list of categories will change to the Trust Center categories. Select Macro Settings.
Next, select the radio button which says Enable VBA macros (not recommended; potentially dangerous code can run).
If you do not want to turn on unlimited macro access, you can choose the `
Click 'OK' to close the Trust Center Settings dialog, then click OK to close the Excel Options dialog.
 |
|---|
Step 2 - Open Workbook
In the root directory of the Relationship Visualizer distribution there is a macro-enabled Excel spreadsheet named Relationship Visualizer.xlsm. Double-click the mouse on the file to launch Excel.
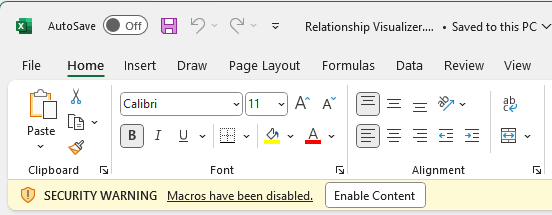
If you get the message SECURITY WARNING Macros have been disabled [Enable Content] click the Enable Content button. Enabling macro support is necessary to use the Relationship Visualizer spreadsheet.
 |
|---|
Step 3 - Save the File as a Workbook Template
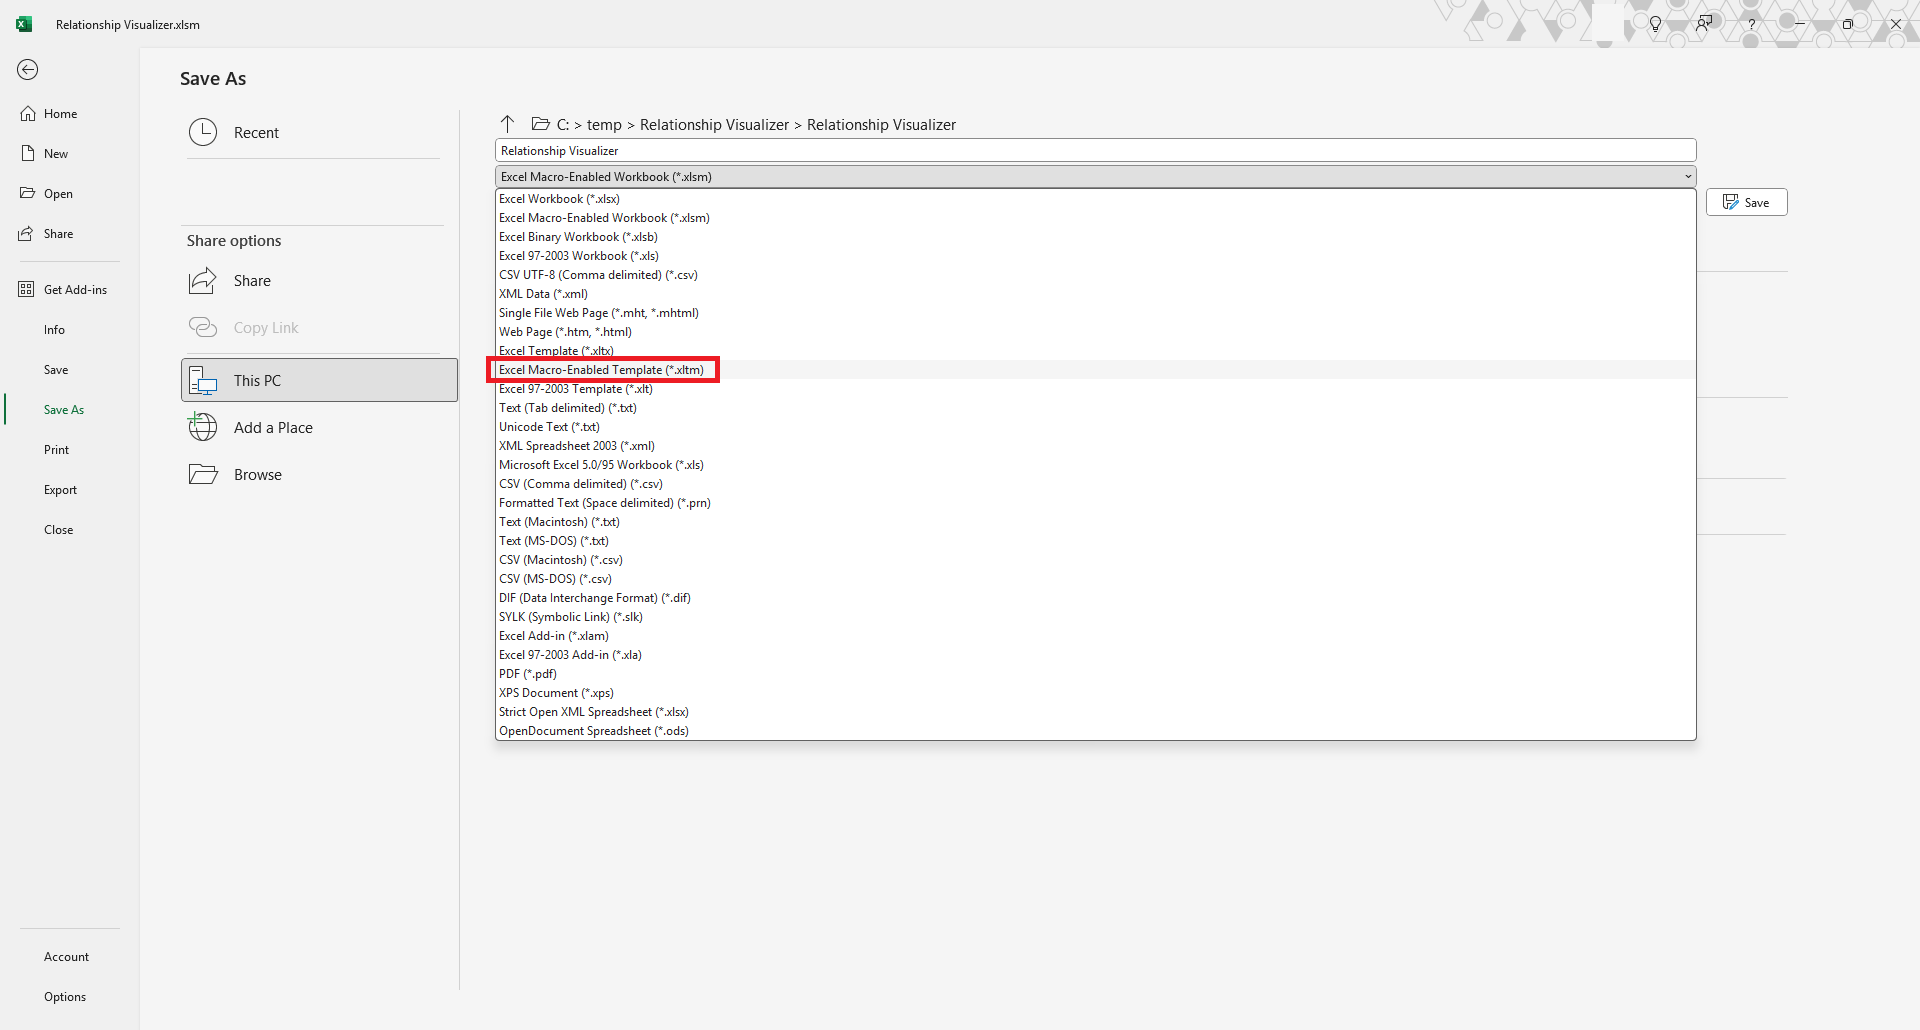
Perform a File → Save As operation.
 |
|---|
Change the file extension from Excel Macro-Enabled Workbook (*.xlsm) to Excel Macro-Enabled Template (*.xltm).
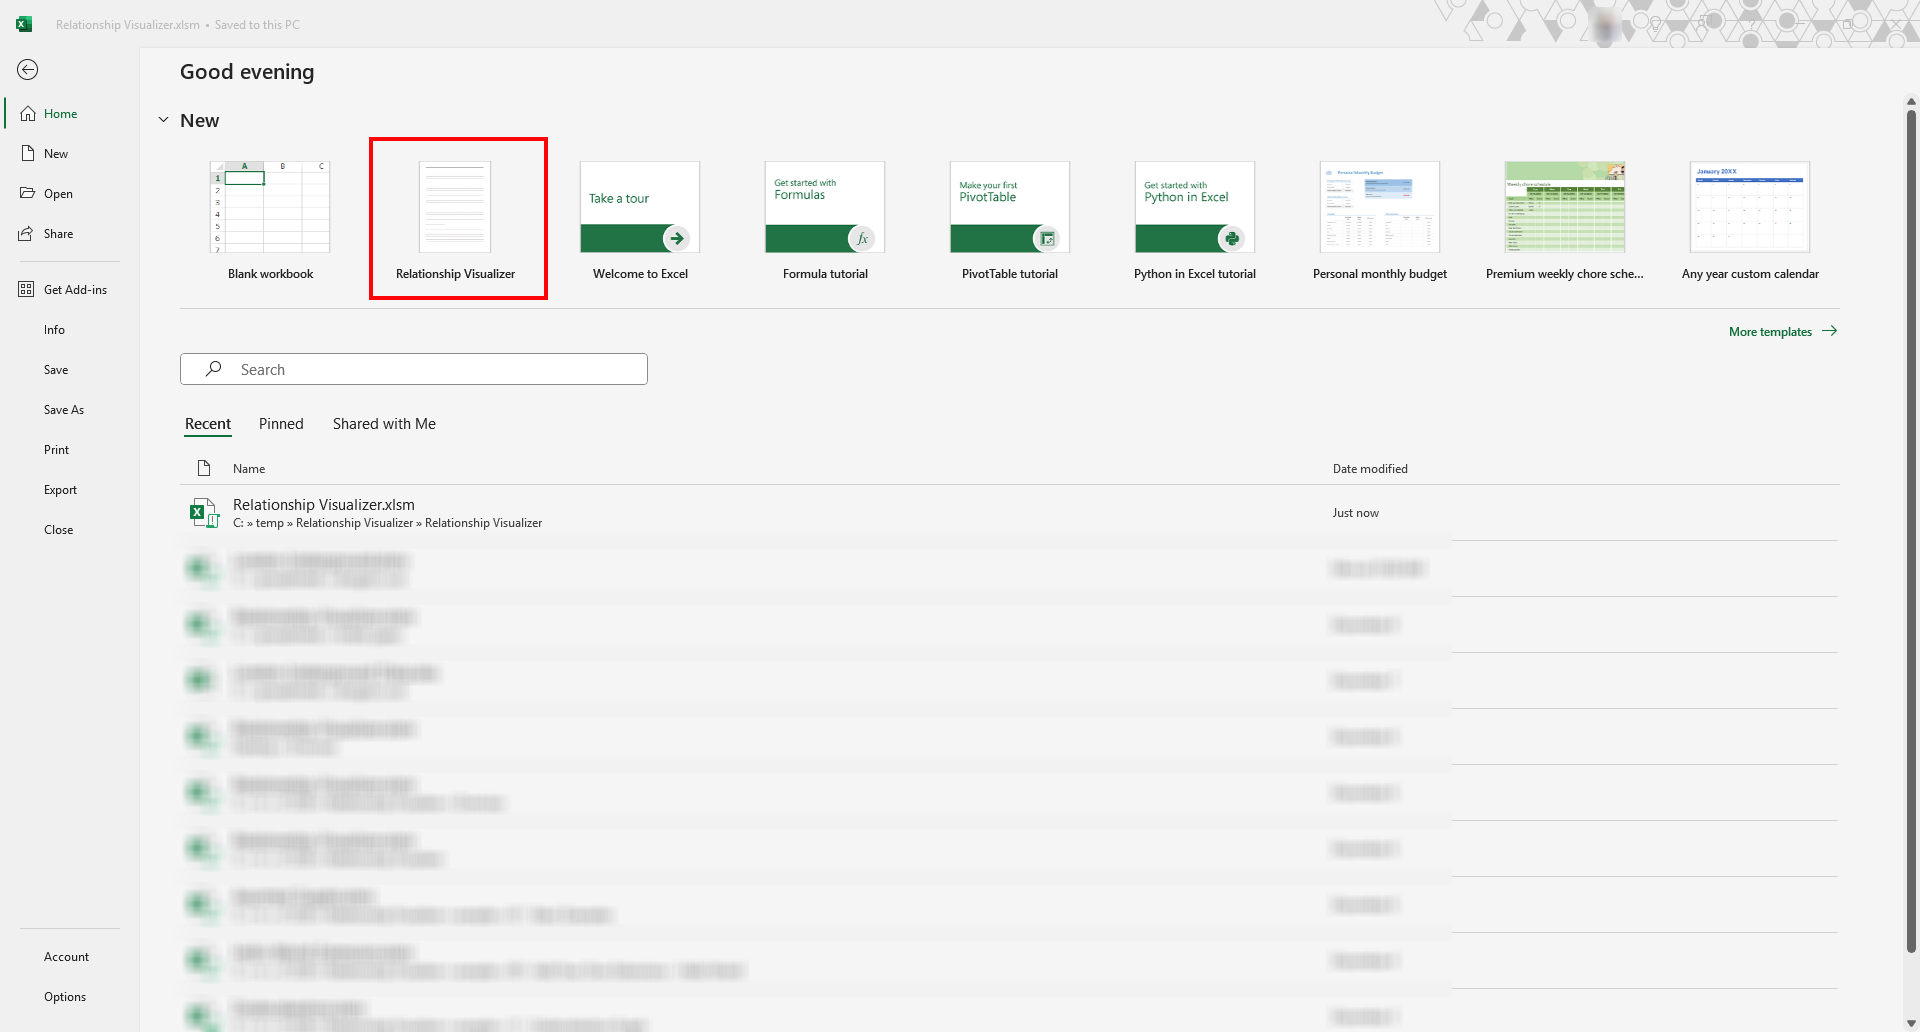
The file will be automatically stored in your custom Office templates directory (This PC > Documents > Custom Office Templates).
If you select File from the menu you will now see Relationship Visualizer as a choice. You can choose this template any time in the future when you want to create a fresh new copy of the Relationship Visualizer spreadsheet.
 |
|---|